All Solutions
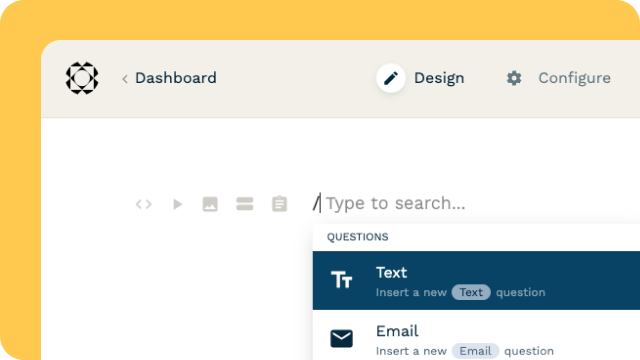
Explore all the solutions you can create with Paperform: surveys, quizzes, tests, payment forms, scheduling forms, and a whole lot more.
See all solutions


Connect with over 2,000 popular apps and software to improve productivity and automate workflows
See all integrationsSolutions
All Solutions
Explore all the solutions you can create with Paperform: surveys, quizzes, tests, payment forms, scheduling forms, and a whole lot more.
See all solutionsIntegrations
Connect with over 2,000 popular apps and software to improve productivity and automate workflows
See all integrationsResources
How do I integrate with MailerLite?

Our direct integration makes it easier than ever to connect MailerLite with your forms!
Connect MailerLite to Paperform
- In the Form Editor navigate to After Submission → Integrations & Webhooks.
- Click on "MailerLite" under the heading "Direct Integrations". Choose from the list of possible actions on the dropdown list provided.

- Click on "Add Account +" to connect your MailerLite account, prompting a popup window to appear requesting you provide the API key for your MailerLite account. Instructions for how to do this are provided also.

- Once finished click "Connect MailerLite", and if your key was validated then Paperform will be successfully connected to MailerLite!
You can remove or rename your MailerLite account at any time in your account settings, but note this will also affect any forms using this integration connection.
Setting up an Integration Action
Our MailerLite direct integration is built to be flexible around your use case, so we offer a number of different actions and functions.
Below you'll find an example of how to configure one of these actions.
Add Subscriber
This action will add a subscriber to the list of your choice using the answers passed through your form submissions.
After setting up your MailerLite connection for the action, complete the fields presented. The list of fields and what they do can be found below;
- Email address - The email address for the subscriber.
- Name - The name of your subscriber.
- Company - The company name of your subscriber.
- Group - The group your subscriber should be added to.
- Fields - A list of the supported configurable fields for your subscriber.
Once you have finished configuring the action, click the "Send Test" button at the bottom to test out the action. If you're happy with the results, click "Create" to finish setting up the action. This will automatically be live for future submissions.
Considerations
Sending a Test for your action
For the "Send Test" button to work, you must have a recent submission that contains data for the fields being used in your integration action.
If you don't have a recent submission with the correct data set then you may encounter unexpected behaviors with integration action, or it may outright fail.